Measurement Preparation:
- a. Insert the plug of the measuring wire into the right-side socket of the main unit.
- Connect the file clip and lip hook to their respective sockets on the measuring wire. Ensure a secure connection.
Testing the Wire Connection:
- Power on the device and verify that the scene of measuring the root canal length is displayed on the LCD screen.
- Check if the measuring wire plug is properly inserted.
- Confirm that the file clip and lip hook are connected well to the measuring wire.
- Touch the lip hook to the bent wire of the file clip to ensure a stable connection. The connection icon on the LCD screen should be steady.
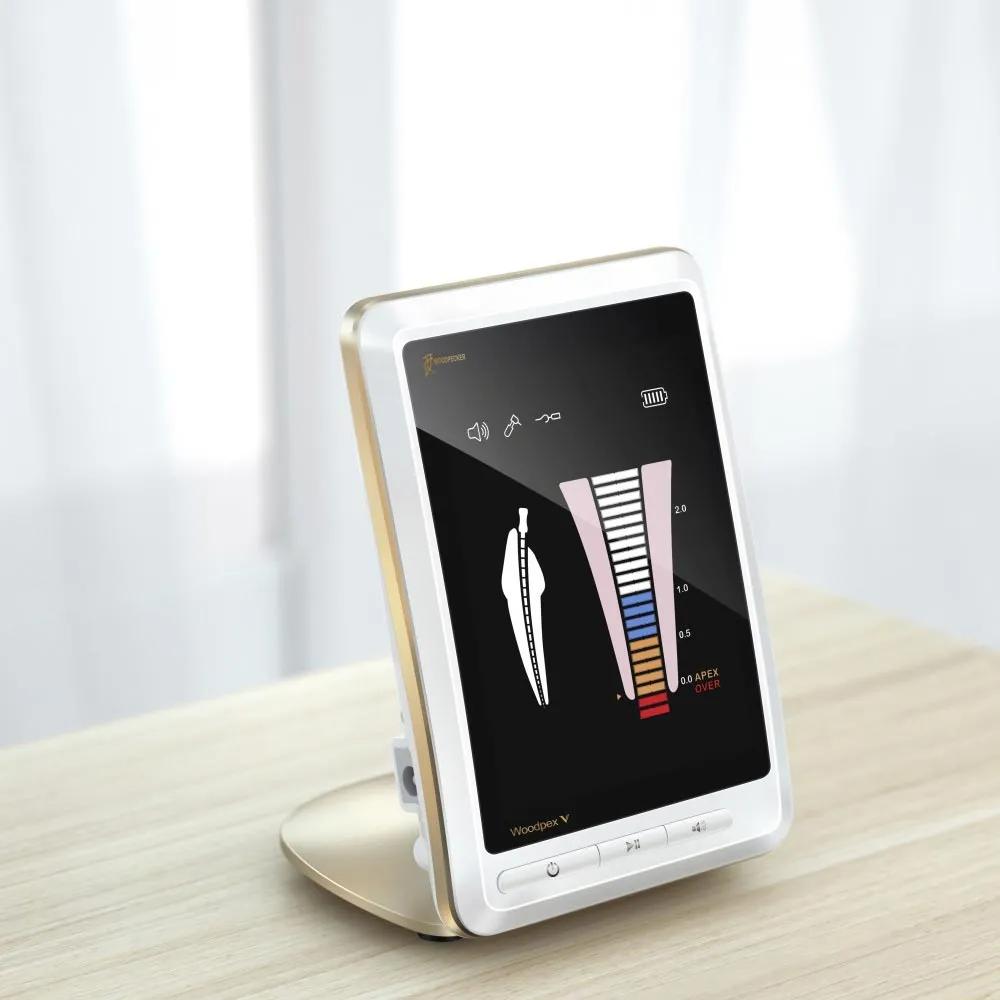
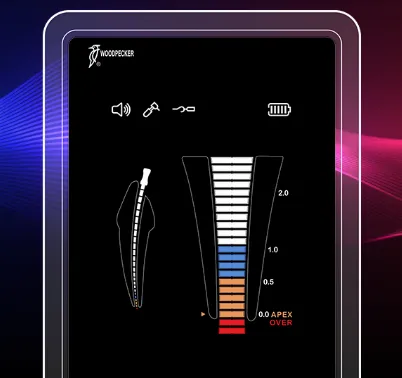
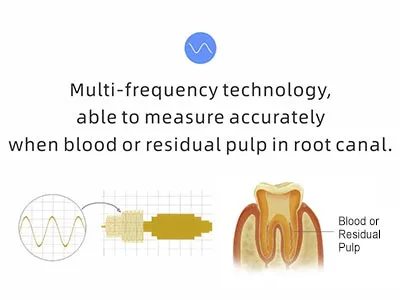
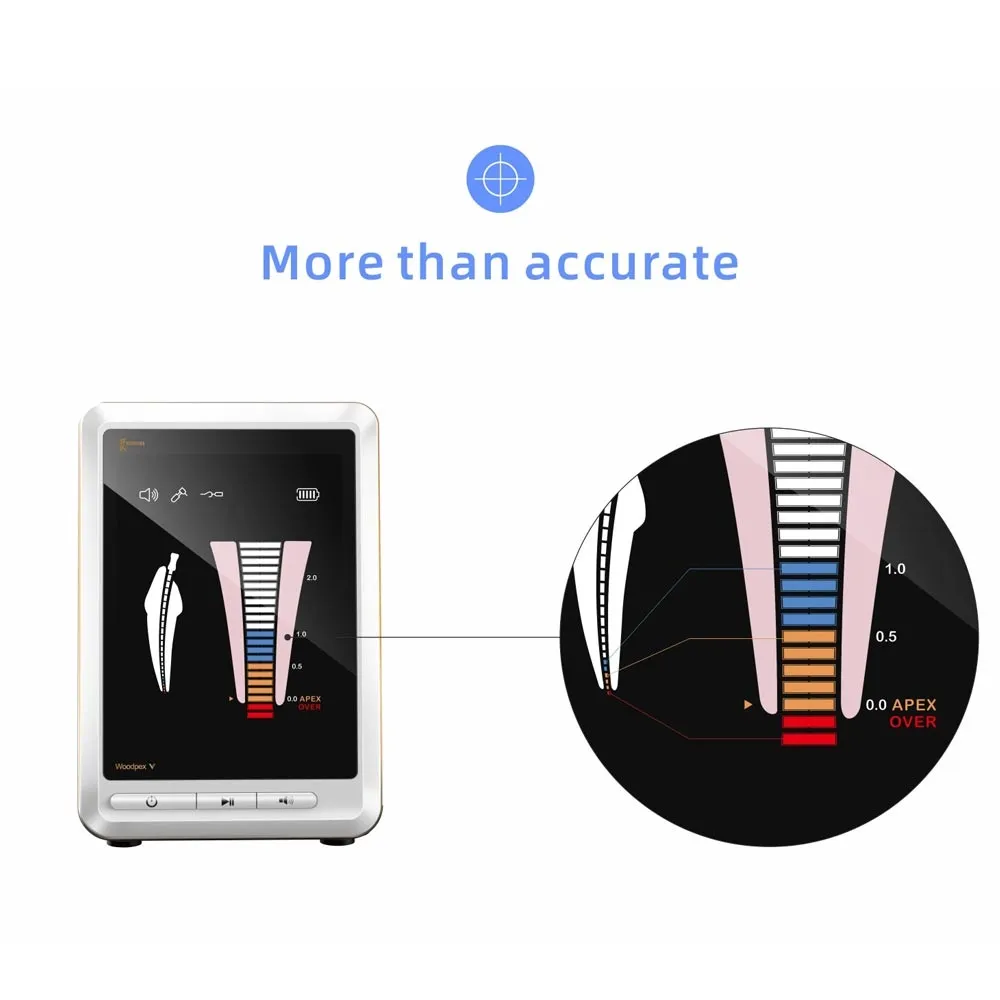
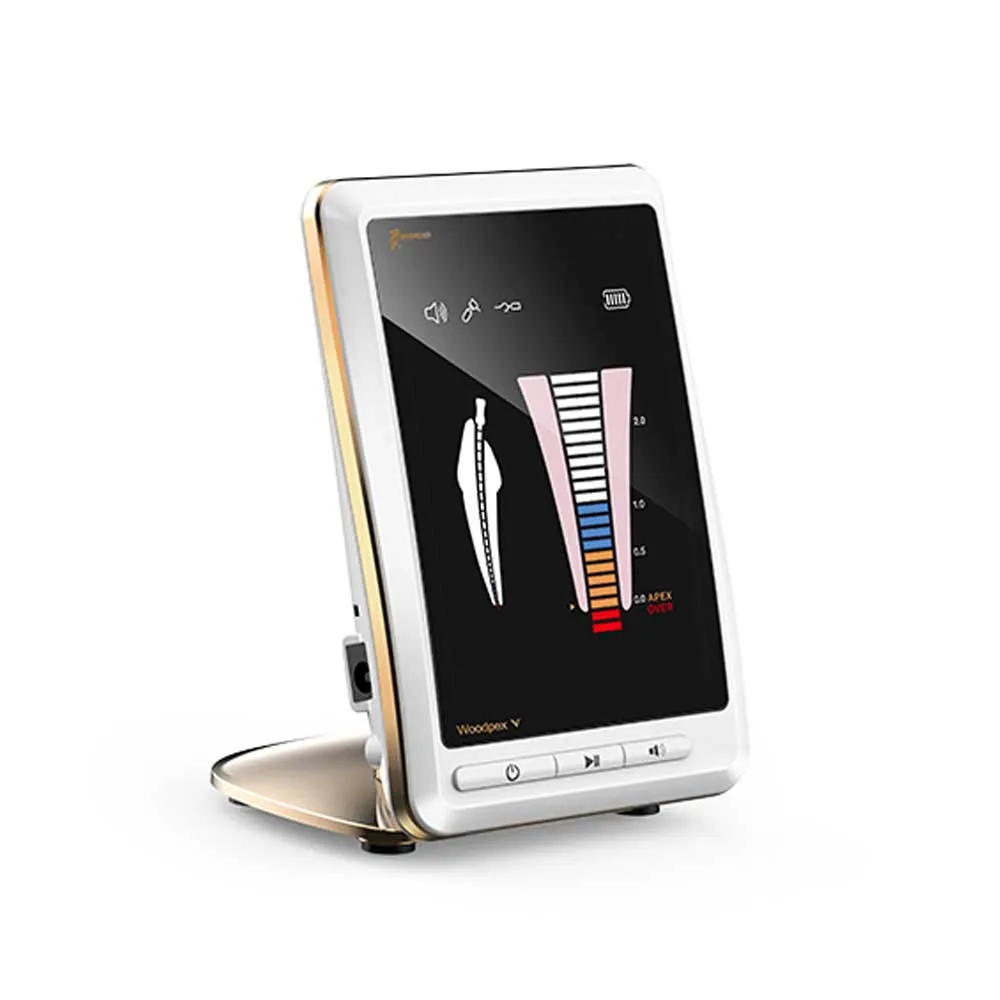
Determining the Working Length:
- As you navigate the endo file through the root canal, observe the indicating bar on the screen.
- When the indicating bar reaches the position of the dial 0.0, and “APEX” is displayed, the endo file has reached the anatomical apical foramen.
- Subtract 0.5-1.0 mm from the measured length to determine the working length.
Enlarged Display of Apical Foramen (optional):
- To examine the apical foramen more closely, refer to the enlarged display mode on the LCD screen.
Testing the Device by Tester: To ensure proper functionality, use the provided tester every two weeks:
- Disconnect the measuring wire and turn off the device.
- Insert the tester and power on the device.
- Check if the indicating bar falls within ±3 bars of the dial 0.5. If not, contact the authorized distributor or manufacturer for assistance.
Connecting to Compatible Endo Motor (optional):
If using the Woodpex V with an Endo Motor, connect one end of the USB line to the USB socket on the device and the other end to the compatible Endo Motor. The Contra-angle icon on the screen will indicate successful communication between the devices.
Reviews
There are no reviews yet.
Only logged in customers who have purchased this product may leave a review.