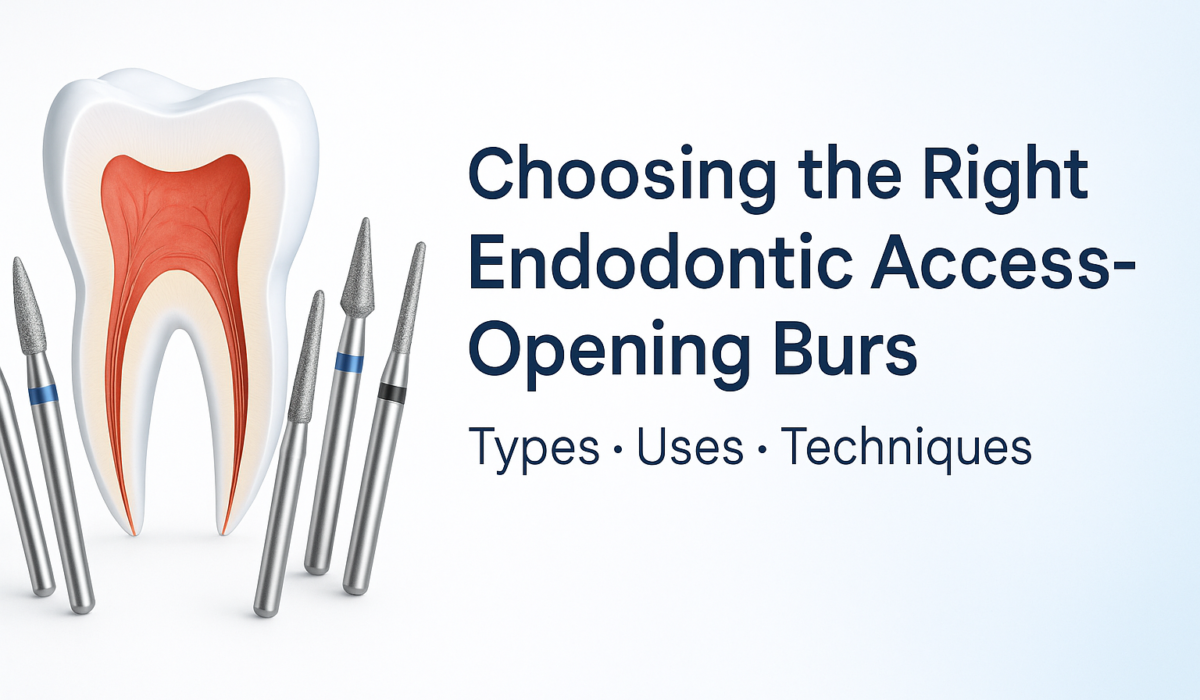
Choosing the Right Endodontic Access Opening Burs
Successful root-canal therapy begins with precise access-cavity preparation. The bur you pick impacts straight-line canal entry, peri-cervical dentine preservation, chair-time, and the longevity of your endodontic files. This guide breaks down bur anatomy, clinical selection tips, and a step-by-step
technique—plus quick links to shop each bur on Dentohook.
Why the Right Bur Matters
- Straight-line access → reduces file flexure and cyclic fatigue.
- Tissue conservation → maintains peri-cervical dentine for long-term strength.
- Cutting efficiency → lowers heat & vibration, improving patient comfort.
- Smoother walls → allow irrigants and obturation materials to flow predictably.
Key Bur Design Variables
| Variable | What to Look For | Clinical Tip |
|---|---|---|
| Head Shape | Ogival, Round, Taper, Wheel, Ball, Fissure, Extra | Keep at least three shapes on your tray for successive refinement. |
| Shank Length | Short shank for posterior control; regular shank for anterior reach | Match shank length to mirror visibility, not canal depth alone. |
| Diamond Grit | Standard (blue) for mixed enamel/dentine, coarse for crowns | Always use water spray ≥ 50 mL/min to avoid heat. |
| Manufacturing Tolerance | ISO concentricity < 0.1 mm | Bench-test new burs; toss any with visible run-out. |
Which Bur to Use—& When
| Access Step | Ideal Bur & Shop Link | Why It Works |
|---|---|---|
| Initial Penetration | Mani Straight Ogival (SO) | Bullet nose centres on enamel—no skating. |
| Roof Removal & Flaring | Mani Taper Round-End (TR) | Round tip lifts the roof while the taper shapes axial walls. |
| Outline Form Refinement | Straight Fissure (SF) or Taper Fissure (TF) |
Creates flat floors and sharp line angles to guide files. |
| Troughing Pulp Horns | Wheel Round (WR) | Disc edge thins overhanging dentine without gouging. |
| Orifice Location | Ball Rounded (BR) | Hemisphere scoops dentine caps—prevents ledges. |
| Calcified Canals | Extra Shape (EX) | Slender neck improves visibility in narrow fields. |
| One-Step Hybrid Access | Dentsply Endo Access | Mani EAL10 | SuperEndo Access Bur |
Round tip + flared shaft removes roof & shapes walls simultaneously. |
| Economical Re-entry / Retreatment | NewDiamond SF-31 (Pack of 3) | Low-cost backup for heavy debris loads. |
| Final Wall Polishing | Coltene Diatech Finishing & Polishing Kit | Leaves glass-smooth walls that resist micro-leakage. |
Step-by-Step Technique
- Pre-op mapping: Confirm chamber depth on radiograph/CBCT; mark the bur with a rubber stopper.
- Pilot access: Use Ogival or Ball bur at 300 k rpm with light brush strokes.
- Roof removal: Switch to Taper Round-End; lift the roof while flaring the axial walls.
- Refine outline: Straight/Taper Fissure bur, shank parallel to tooth’s long axis.
- Trough pulp horns: Wheel bur with sweeping motion under magnification.
- Locate orifices: Spoon excavate debris, tease dentine with Ball bur until canal “blebs” appear.
- Polish & Inspect: Quick pass with finishing kit, then irrigate (NaOCl) and verify straight-line file fit.
Bur Care & Safety Tips
- Replace after ≈ 5 teeth or when cutting time doubles.
- Never exceed 0.4 N pressure; excess force = heat, not speed.
- Autoclave at 134 °C / 3 min; avoid H2O2 on carbide shanks.
- Store in dedicated bur blocks—loose drawers chip diamonds.
Ready to Upgrade Your Kit?
Hand-pick the burs that match your workflow from the links above, or browse the
complete Burs & Sets catalogue on Dentohook.
Smarter selection today means faster, safer endodontic success tomorrow.